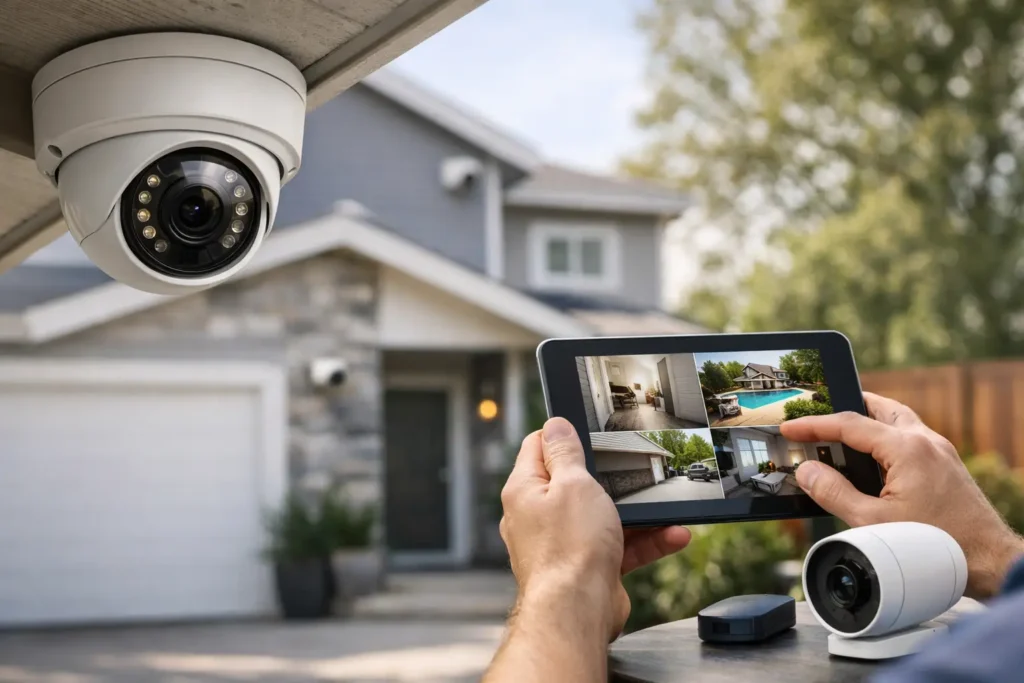
A camera can be expensive, high-resolution, and connected to the best recording plan available, yet still miss the one moment you needed it to capture. The difference is usually placement. This security camera placement guide focuses on the real decisions that determine whether your system delivers useful evidence, reliable alerts, and everyday peace of mind without making your home look over-equipped.
For Orange County homeowners, camera placement often has to balance security with architecture, landscaping, coastal weather, and a clean exterior. A thoughtfully designed system should protect the property while remaining discreet, easy to maintain, and simple to use.
Start With What You Need to See
Before selecting a mounting location, identify the events you want footage to answer. Are you trying to verify a package delivery, see who approaches the front door, monitor vehicles in the driveway, check a side gate, or keep an eye on a pool area? Each goal calls for a different view.
A common mistake is assuming one wide-angle camera can cover an entire front yard. Wide views are helpful for general awareness, but people and license plates become smaller as they move farther from the lens. A camera aimed at the driveway may show that a vehicle arrived, while a dedicated camera placed lower and closer may be needed to capture meaningful detail at the gate or entry path.
Walk the exterior as if you were approaching the house after dark. Consider where someone could enter, where they could leave unseen, and which routes a delivery driver, guest, or service professional naturally uses. That walk-through usually reveals the priority zones more clearly than a floor plan alone.
Security Camera Placement Guide: The Key Coverage Areas
Most homes benefit from coverage at the front entry, driveway, rear access, and side-yard gates. The exact number of cameras depends on the lot layout, visibility from neighboring homes, existing lighting, and whether detached structures or outdoor living areas need coverage.
Front door and approach path
The front door deserves a camera, but a doorbell camera is not always the complete answer. It offers a close view of visitors and packages, yet its field of view may not capture someone approaching from the side, walking across the porch, or moving through the front yard. On wider properties, a second camera facing the walkway or curb approach can fill that gap.
Position the camera to see faces before a person reaches the door. Avoid mounting it so high that it only records the top of hats or heads. Also account for backlighting. If the camera looks directly toward a bright street, sunset, or reflective white wall, facial detail can suffer at the time you need it most.
Driveway and garage
Driveways are among the highest-value locations because they track vehicle and pedestrian activity. A camera mounted near the garage corner or under an eave can often cover vehicles entering, cars parked in front, and the route to a side gate.
The trade-off is angle. A broad elevated view is excellent for activity monitoring, but it may not reliably capture license plates, especially at night. Plate readability depends on distance, angle, vehicle speed, headlights, and camera settings. If plates are a priority, plan for a dedicated view instead of expecting a single overview camera to do every job.
Side gates and concealed access points
Side yards are easy to overlook, especially when landscaping is mature or the space is narrow. They are also common access routes because they are less visible from the street. Place cameras where they can see the gate opening and the path beyond it, not just a section of fence.
Keep shrubs, vines, and decorative trees out of the camera’s view. A branch moving in the wind can trigger repeated alerts, block the lens over time, and make nighttime infrared footage difficult to interpret.
Backyard, patio, and pool areas
Backyard cameras can protect rear doors, sliding glass doors, patio equipment, and detached garages. They are particularly useful for homes with a pool, outdoor kitchen, or entertainment area where guests and service providers may come and go through the side or rear of the property.
Placement here requires extra care with privacy. Aim cameras at your own entry points and access paths. Avoid recording neighboring windows, private yards, bathrooms, or areas where people reasonably expect privacy. Good camera design protects your property without creating unnecessary tension with neighbors.
Mount at the Right Height and Angle
For most exterior cameras, a mounting height of roughly 8 to 10 feet provides a practical balance. It keeps the camera out of easy reach while still producing a useful angle for identifying people. Mounting too high is one of the most frequent installation problems because it creates a dramatic overhead view with limited facial detail.
Angle the camera slightly downward, but not straight down. The goal is to capture a person’s face as they move through the coverage zone. Test the view using a real person walking the expected path during daylight and at night. What looks perfect on a phone app in the afternoon can become unusable when porch lights, headlights, or infrared illumination come into play.
Avoid aiming cameras directly at the sun, highly reflective windows, polished stone, pools, or bright exterior fixtures. These surfaces can create glare and wash out details. In coastal communities, salt air and marine moisture can also leave residue on lenses and housings, so accessible placement matters. A camera that cannot be cleaned safely will eventually deliver a poorer image.
Plan for Power, WiFi, and Recording Before Mounting
A camera location is only useful if it has dependable power and connectivity. Battery cameras offer flexible placement and can work well for targeted views, but they require charging or battery replacement. Hardwired cameras reduce maintenance, while Power over Ethernet systems provide power and data through a single cable and are often the most dependable choice for larger installations.
WiFi cameras should be tested at the actual mounting point, not just inside the home. Exterior walls, metal gates, stucco, masonry, and distance from the router can weaken a signal. If video drops out, notifications arrive late, or live viewing buffers, the problem may be network coverage rather than the camera itself.
For homes with several cameras, streaming devices, smart TVs, and whole-home audio, a WiFi upgrade or wired network plan may be part of the security project. This is especially true when cameras record continuously at higher resolutions. Strong coverage and appropriate bandwidth help prevent the frustrating situation where a camera works until the moment multiple devices are active.
Do Not Let Lighting Create Blind Spots
Cameras need light to deliver their best color image. Night vision is valuable, but infrared footage can lose detail when a subject is too far away, when a wall reflects infrared light back into the lens, or when landscaping moves across the image.
Use existing exterior lighting as part of the camera plan. A well-lit front walk, driveway, and side gate improve image quality and may discourage unwanted activity before it begins. Motion-activated lighting can be effective, but point fixtures away from the lens to reduce glare.
Be cautious with cameras behind glass. Infrared light reflects off windows at night, often leaving a bright image with little usable detail outside. For meaningful exterior coverage, install the camera outdoors in a weather-rated location whenever possible.
A Practical Placement Check Before Installation
Before drilling or running cable, verify that every proposed camera answers a specific question. A complete plan should account for these distinct considerations:
- Can the camera clearly see the approach path, not just a distant open area?
- Does it capture faces at a useful distance and angle?
- Is the lens protected from direct sun, sprinklers, foliage, and obvious tampering?
- Does the location have reliable power, network connectivity, and a realistic service path?
- Does the view respect privacy while covering the doors, gates, and assets that matter?
This check prevents duplicate views and helps avoid unnecessary equipment. In many homes, strategic placement with fewer properly installed cameras is more valuable than adding cameras until every exterior wall has a lens.
A professional installation also makes the finished system easier to live with. Cables can be concealed, cameras can be aligned and tested after dark, and recording settings can be adjusted so you receive meaningful alerts instead of constant notifications from passing cars, pets, or moving trees. Tri Star Home Theater helps homeowners throughout Orange County design camera systems that fit the property, the network, and the way the household actually uses the home.
The best camera layout is not the one with the most coverage on paper. It is the one that gives you a clear, dependable view of the moments that matter while keeping your home comfortable, private, and visually clean.
Ready for a free consultation? Let’s get in touch! Call (949) 878-0531 Today