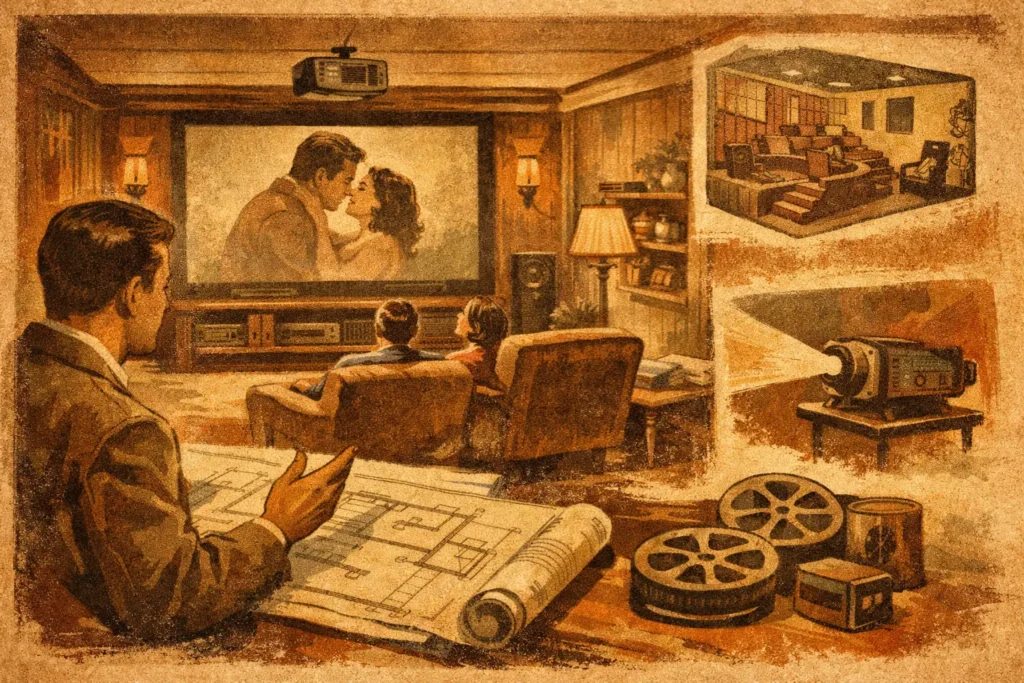
A great theater room usually looks simple when it’s finished. The screen feels like the right size, the sound is full without being harsh, the seats make sense, and nothing about the space fights the experience. That only happens when you know how to design a home theater room around the room itself, not just around a shopping list of equipment.
In Southern California homes, that matters even more. We see everything from bonus rooms and loft conversions to dedicated media rooms in custom homes, and each one has different limits around light, wall space, ceiling height, wiring access, and acoustics. A good design starts with how you want to use the room, then builds the system around comfort, performance, and clean installation.
Start with the room, not the gear
One of the biggest mistakes homeowners make is choosing a giant TV or projector package first and trying to force the room to fit it later. The better approach is to look at the room’s size, shape, and purpose before you make any equipment decisions.
If the room will be used only for movies and big game days, you can push further into a true theater setup with controlled lighting, larger surround sound, and more deliberate seating placement. If it also needs to function as a family room, a more flexible design often works better. In that case, ease of use, sight lines, hidden wiring, and furniture layout may matter as much as raw performance.
Room dimensions affect almost everything. A long, narrow room creates different speaker and seating challenges than a wide open space. Low ceilings may limit projector placement or Dolby Atmos options. Large windows can wash out a projected image unless you address lighting properly. Even the location of doors matters because traffic paths can interfere with seating rows or speaker placement.
How to design a home theater room for real use
The best theater rooms are designed around viewing habits. Ask yourself a few practical questions. Will this room be mostly for movies, sports, streaming, or gaming? How many people will use it regularly? Do you want one perfect viewing position or a room where everyone gets a good seat? Are you trying to create a dedicated theater feel or a polished media room that blends into the home?
Those answers shape every decision that follows. A movie-first room may justify a projector, acoustically tuned speakers, and darker finishes. A mixed-use room may benefit more from a bright, large-format TV, simple control, and furniture that feels comfortable every day.
There’s also the question of convenience. Some homeowners want a one-touch system that powers on the TV, receiver, streaming devices, and lights without thinking about inputs or remotes. Others are fine with more manual control if it gives them added flexibility. Neither is wrong, but the design should match the household.
Screen size and display choice
The TV-versus-projector question comes up early, and the right answer depends on the room. A projector can create a true theater feel and a much larger image, but it needs the right viewing distance, mounting position, and light control. If the room has windows, bright ambient light, or frequent daytime use, a large TV often delivers a better experience with less compromise.
Screen size should feel immersive without overwhelming the room. Bigger is not always better if the first row ends up too close or if the image dominates a space that still needs to feel comfortable. The ideal size depends on seating distance and resolution, but the bigger design issue is proportion. You want the display to feel intentional in the room, not oversized just for the sake of it.
Wall space also matters. If you’re mounting a TV above a fireplace, you may be forcing the screen too high for comfortable viewing. In a dedicated theater room, the screen should usually anchor the wall at a natural viewing height. That sounds obvious, but it gets missed all the time.
Sound is what makes the room feel expensive
People tend to focus on the screen first, but audio is what gives a theater room real impact. You can have a beautiful display and still end up with a disappointing experience if dialogue is hard to hear or surround effects feel weak.
At minimum, the room should be planned around proper front speaker placement, a strong center channel, and a subwoofer that fits the room rather than just rattling it. If you’re building a dedicated room, surround speakers and Dolby Atmos can take the experience much further, but only if placement is right. Speaker location should be based on seating, ear level, wall construction, and room dimensions.
This is also where trade-offs matter. In-wall and in-ceiling speakers can look cleaner, which is important in many Orange County homes, but design and placement need to be handled carefully so aesthetics don’t come at the expense of performance. Freestanding speakers may offer stronger output or flexibility, but they change the look of the room. Good design finds the right balance instead of treating the room like a showroom.
Seating layout is more important than most people expect
A theater room can have excellent equipment and still feel awkward if the seating layout is off. The main goals are clear sight lines, comfortable viewing angles, and enough space to move through the room without blocking the screen or crowding the speakers.
For one row of seating, the key decision is distance from the screen. For two rows, things get more technical. You may need a riser for the back row, especially if you’re using recliners. Ceiling height becomes more important here because you don’t want the rear row too high or visually cramped.
Furniture style also affects the system design. Sectionals and deep lounge seating can change ear height and viewing angles. Recliners need clearance behind and in front. If the room is for families, you may want a mix of structured theater seating and more casual options. Comfort should support the viewing experience, not work against it.
Lighting can make or break the room
One of the most overlooked parts of theater design is lighting. Too much ambient light ruins contrast. Poor fixture placement creates glare on the screen. And if all lights are controlled by a single wall switch, the room loses a lot of flexibility.
A well-designed theater room usually layers lighting. Recessed cans may provide general illumination, sconces can add warmth, and accent or step lighting helps with safety and atmosphere. Dimmers are essential. You want bright light for cleaning or setup, lower light for pre-show seating, and very controlled light during viewing.
Window treatment matters just as much. If the room has natural light, blackout shades or drapery can make the difference between a usable daytime theater and a washed-out image. This is especially true for projector-based systems.
Wiring, WiFi, and control should be planned early
If you’re remodeling or building, pre-wiring is one of the smartest investments you can make. It gives you cleaner results, more placement options, and less guesswork later. Speaker wire, HDMI runs, network cable, control lines, and power placement all need to be considered before walls are closed.
Even in existing homes, it’s worth thinking ahead. Many theater issues come down to infrastructure, not equipment. Weak WiFi can affect streaming. Poor HDMI planning can cause signal problems. Limited power access can force visible cords or awkward equipment placement.
Control is another major piece of the experience. A theater room should not require five remotes and a tutorial. Whether the system is simple or fully integrated, the user experience needs to be easy for everyone in the house. That often means consolidating control and making sure the system behaves predictably every time you turn it on.
Acoustic treatment and finishes
A theater room doesn’t need to look padded or overly technical to sound better. In fact, some of the most effective acoustic improvements are subtle. Carpet, upholstered seating, wall panels, drapery, and even the room’s furniture layout can all help manage reflections and improve clarity.
Hard, bare rooms tend to sound bright and messy. Too many reflective surfaces make dialogue harder to understand and surround effects less precise. On the other hand, a room can also be over-softened if every surface absorbs sound. The goal is balance.
Color and finish choices affect the image too. Lighter walls and glossy surfaces reflect more light, which can reduce perceived contrast, especially with projectors. Darker matte finishes usually support better picture performance. That doesn’t mean every theater room has to be blacked out, but the visual design should support the technology.
Budgeting for the full room
When homeowners think about budget, they often focus only on the obvious components like the TV, projector, speakers, and receiver. But the full cost of a good theater room includes installation, wiring, mounting, lighting adjustments, network improvements, control setup, and finish work.
That’s why planning matters. If the budget is tight, it’s often better to build the room in smart phases than to spread money too thin across every category. For example, you might pre-wire for Atmos and a projector even if you start with a large TV and a simpler speaker layout. That approach protects the room for future upgrades without forcing everything into phase one.
A thoughtful design also helps avoid costly corrections later. Moving outlets, relocating speakers, re-running cables, or replacing the wrong screen size usually costs more than getting the design right the first time.
For many homeowners, the best results come from working with a local specialist who can evaluate the room in person, explain the trade-offs clearly, and build around how the space will actually be used. That’s where a company like Tri Star Home Theater can make the process much easier.
A home theater room should feel effortless once it’s done. If the room fits your home, your habits, and your expectations, movie night stops feeling like a setup process and starts feeling like the best seat in the house. Ready for free consultation? Let’s get in touch! Call (949) 878-0531 Today