Can WiFi Affect Streaming Quality? Yes
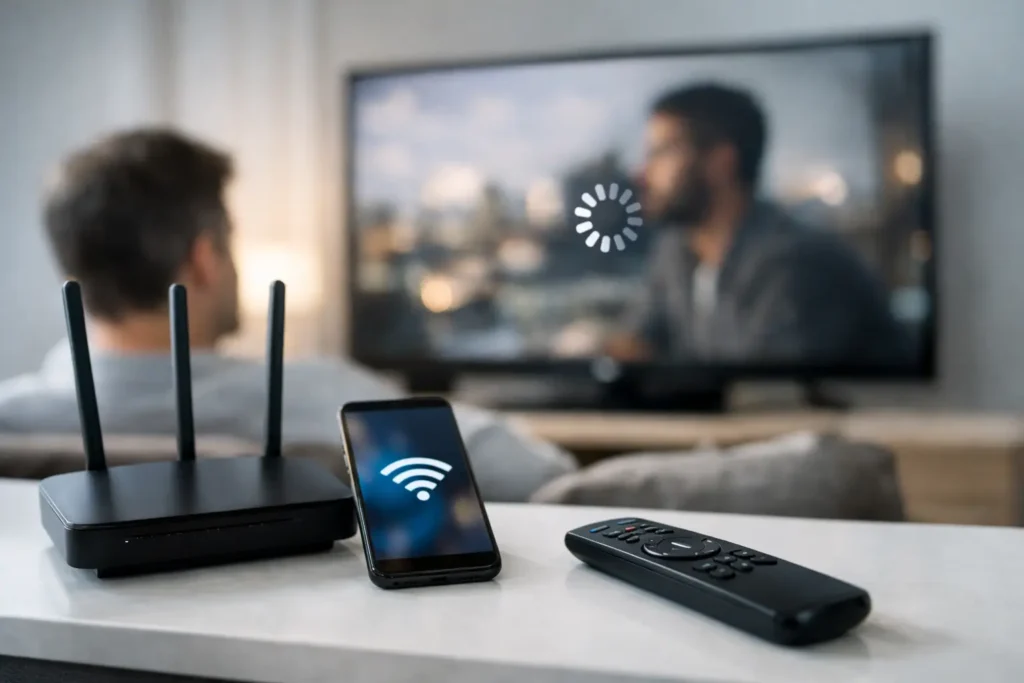
Can WiFi affect streaming quality? Yes – weak signals, congestion, and poor setup can cause buffering, blur, and dropouts on your TV.
Expert insights, installation guides, and troubleshooting tips from over 30 years of designing custom, high-end home theaters and audio-video systems in Orange County California.
Can WiFi affect streaming quality? Yes – weak signals, congestion, and poor setup can cause buffering, blur, and dropouts on your TV.
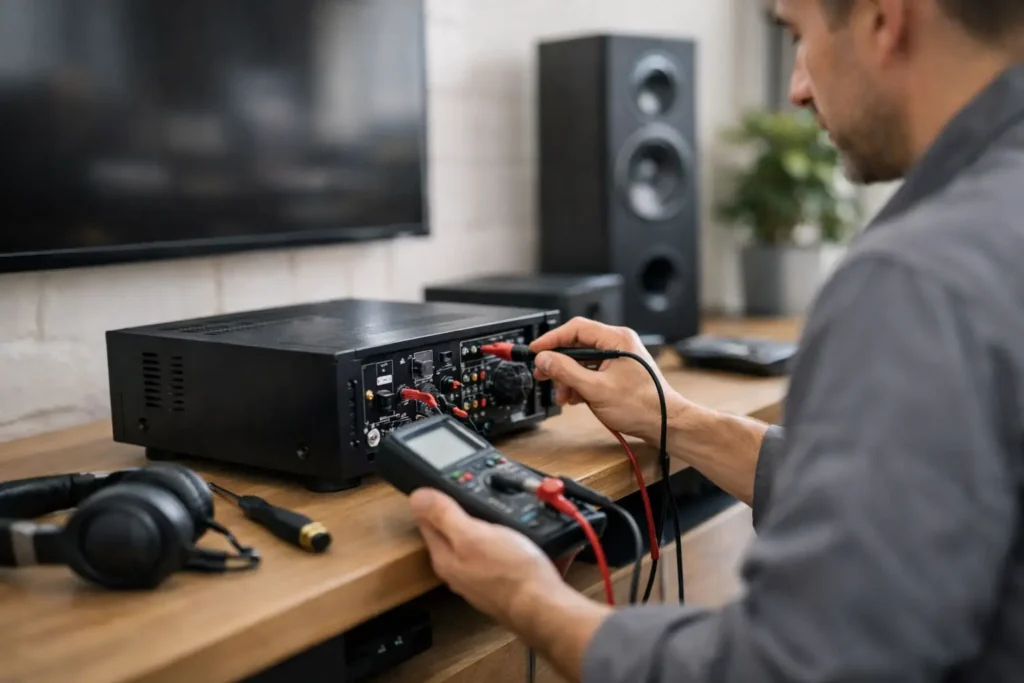
Need a home audio repair service? Learn the signs, common fixes, and when expert troubleshooting saves time, money, and frustration at home.
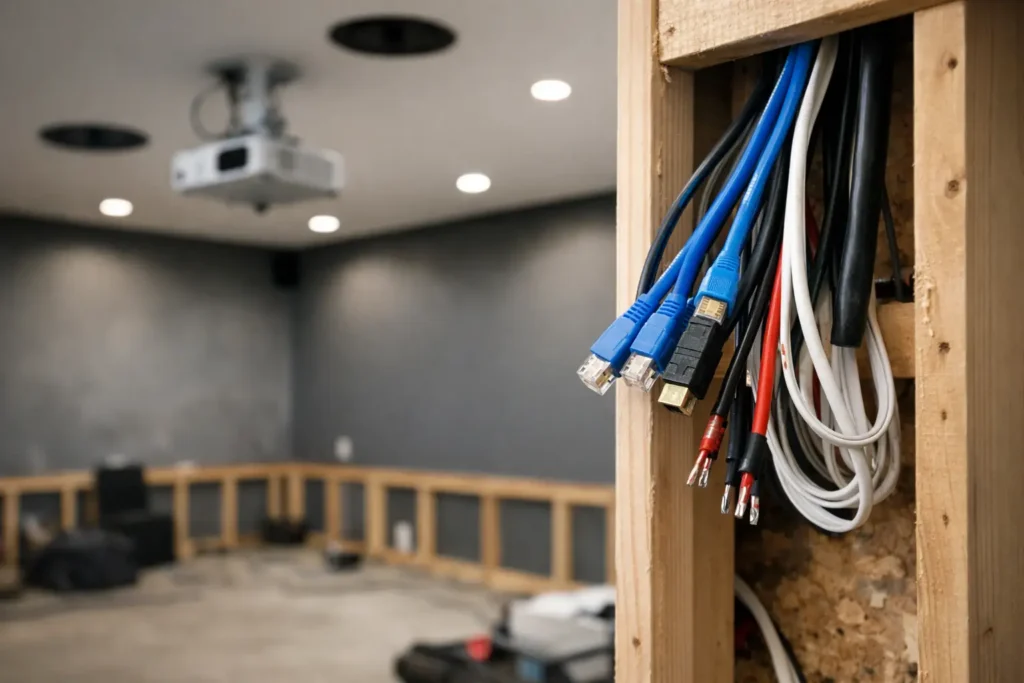
Home theater pre wire installation sets up clean sound, video, and network wiring before walls close, making upgrades easier and your system neater.
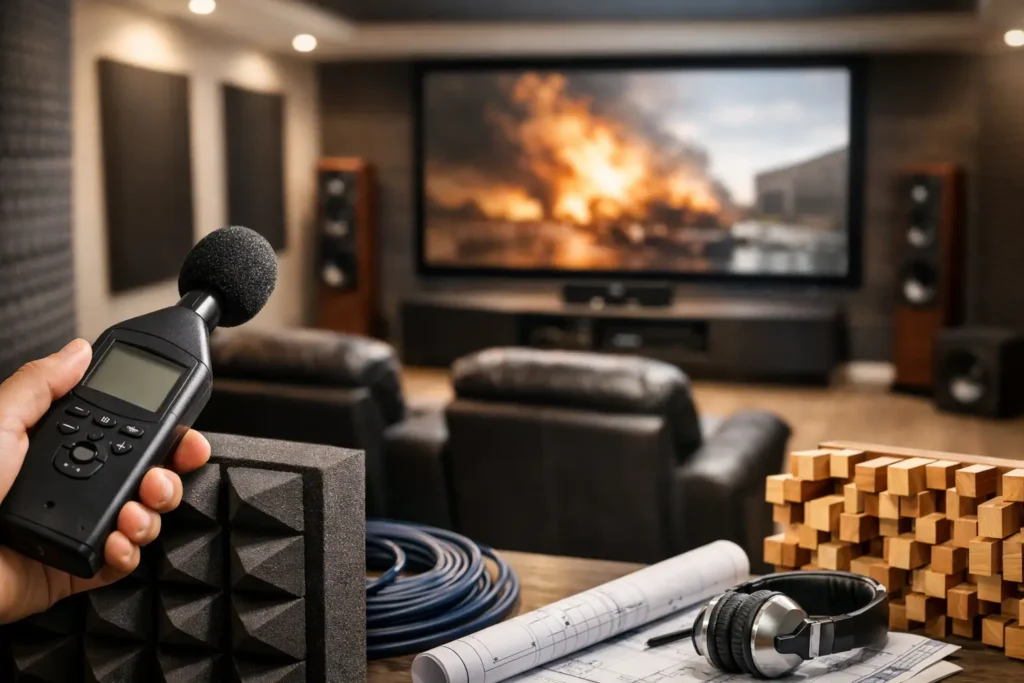
Learn how to improve home theater acoustics with practical fixes for speaker placement, room treatment, bass control, and cleaner dialogue.
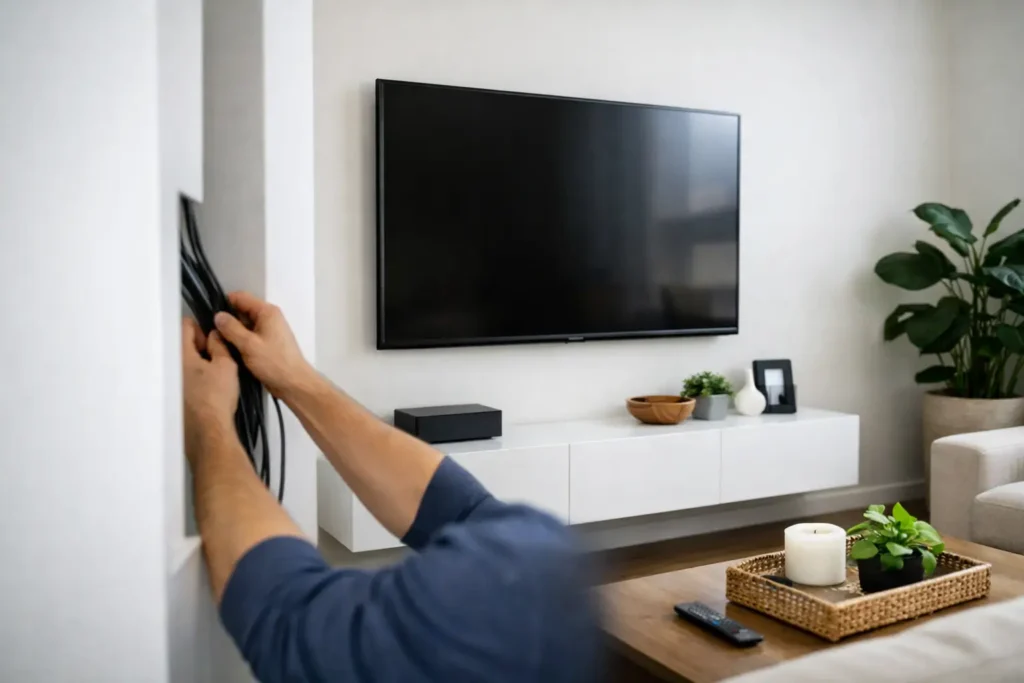
Learn how to hide TV wires safely and cleanly with simple options for mounted and stand TVs, plus when to call a pro for best results.
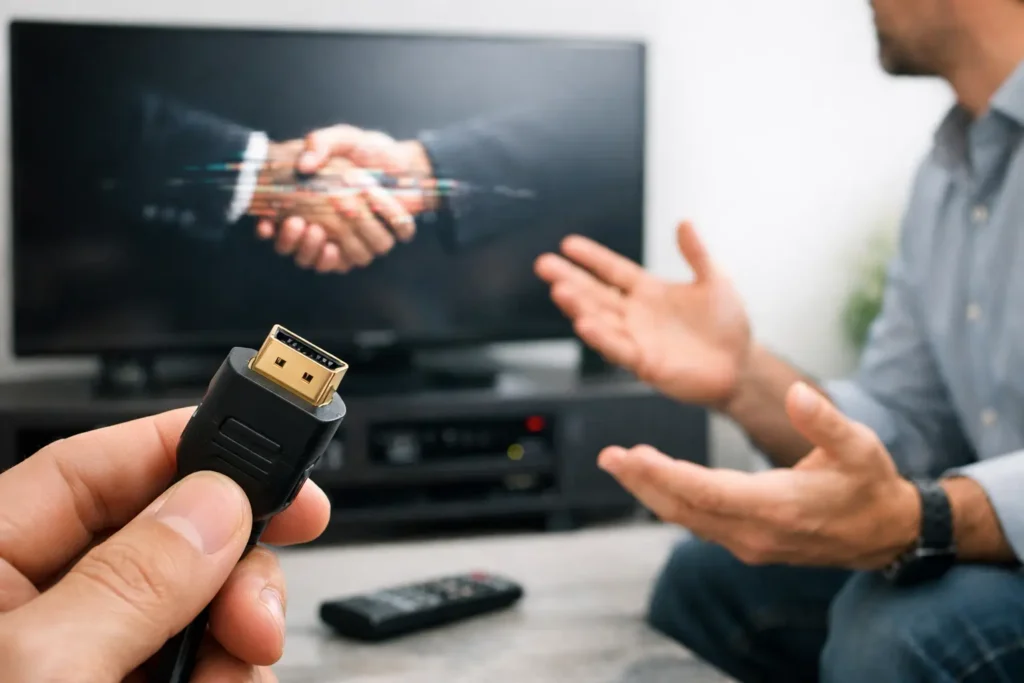
Learn what causes HDMI handshake problems, why screens go black or lose audio, and how to fix common AV signal issues at home fast.
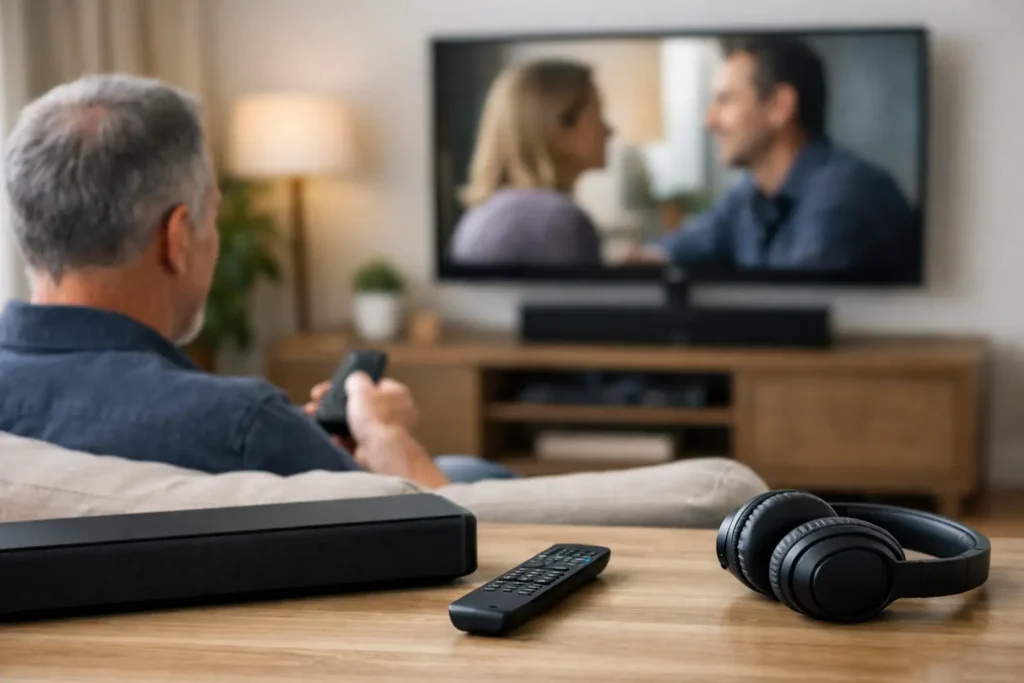
Learn how to improve dialogue clarity at home with better speaker placement, settings, room fixes, and smart upgrades for clearer TV sound.
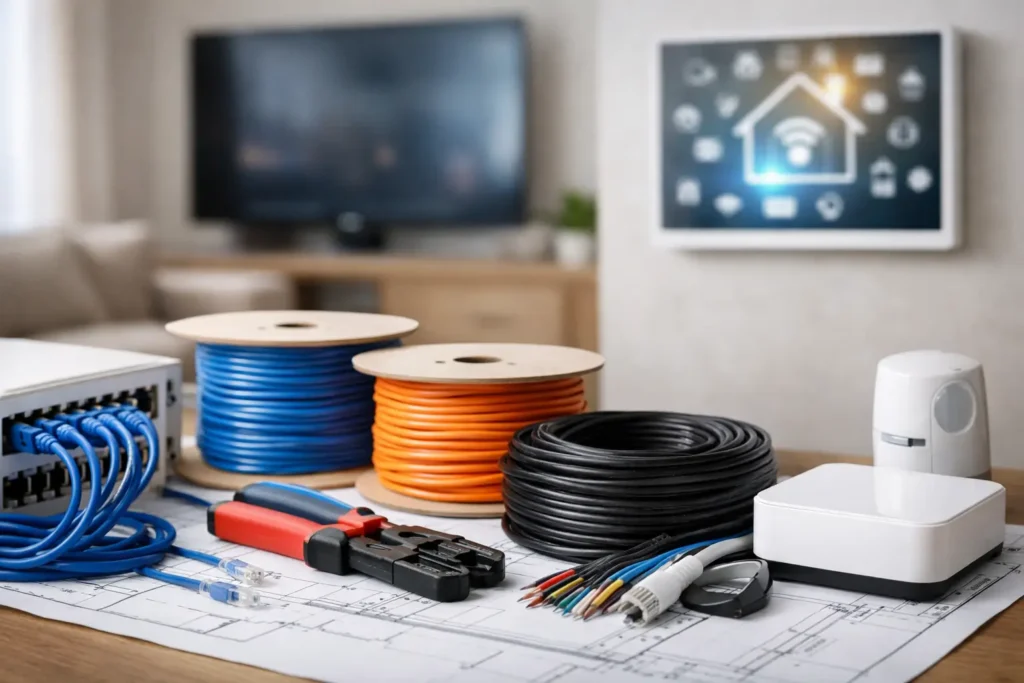
This low voltage wiring guide explains what to run, where to place it, and how smart planning improves AV, WiFi, cameras, and control systems.
Get Irvine security camera installation done right with expert planning, clean wiring, smart placement, and reliable local service for homes and businesses.
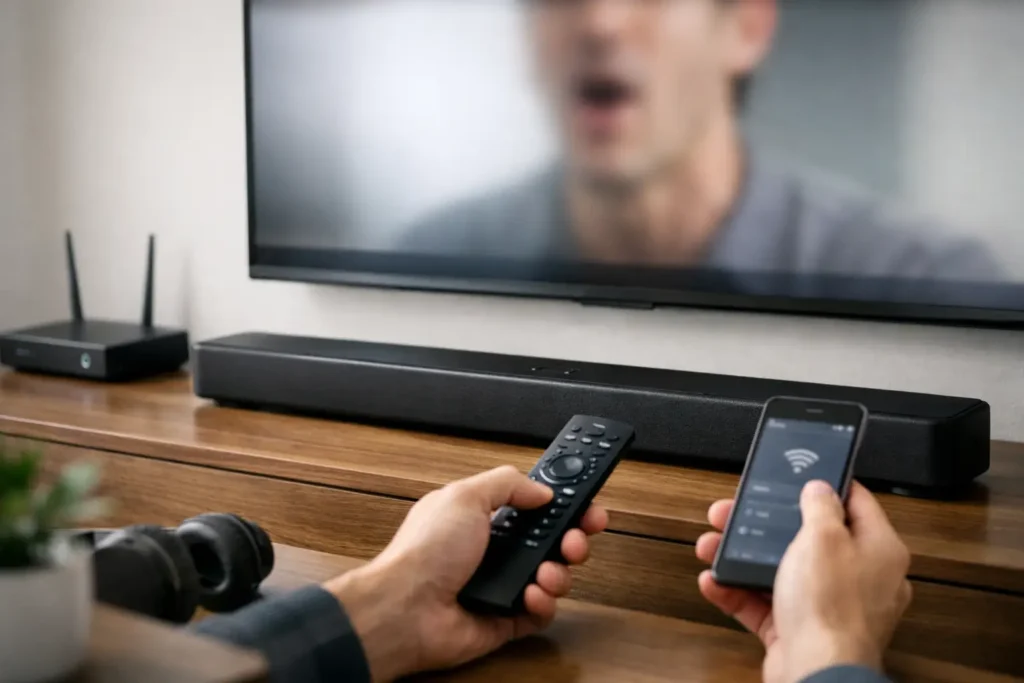
Why is my soundbar lagging? Learn the most common causes of audio delay, how to fix lip-sync issues, and when a setup needs expert help.
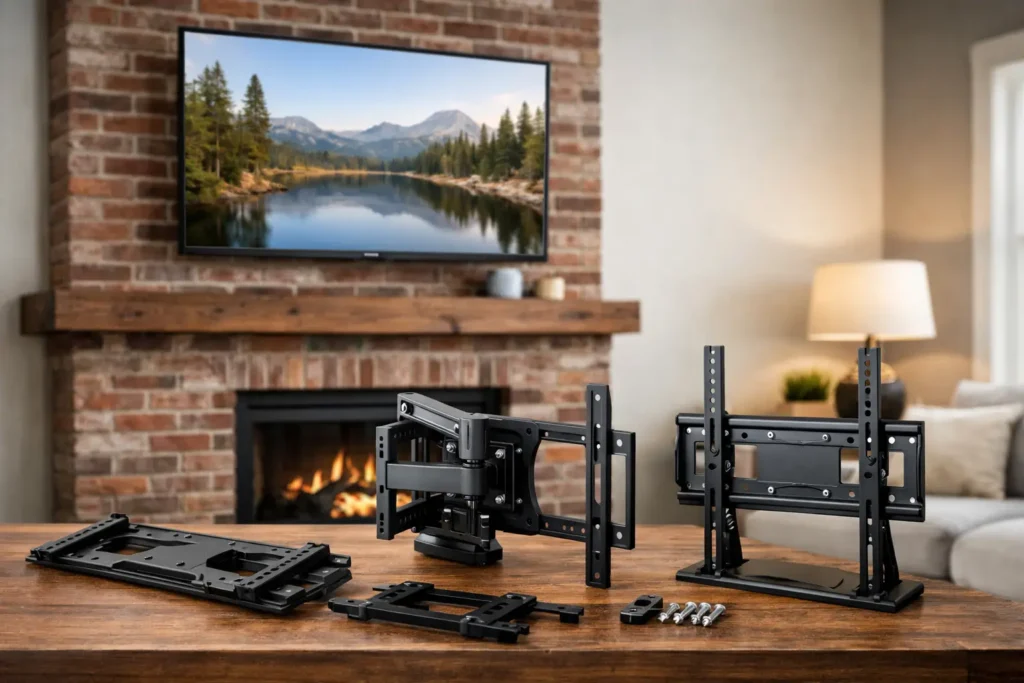
Find the best tv mounts for brick fireplaces, plus what to avoid, how to choose the right fit, and when pro installation makes sense.
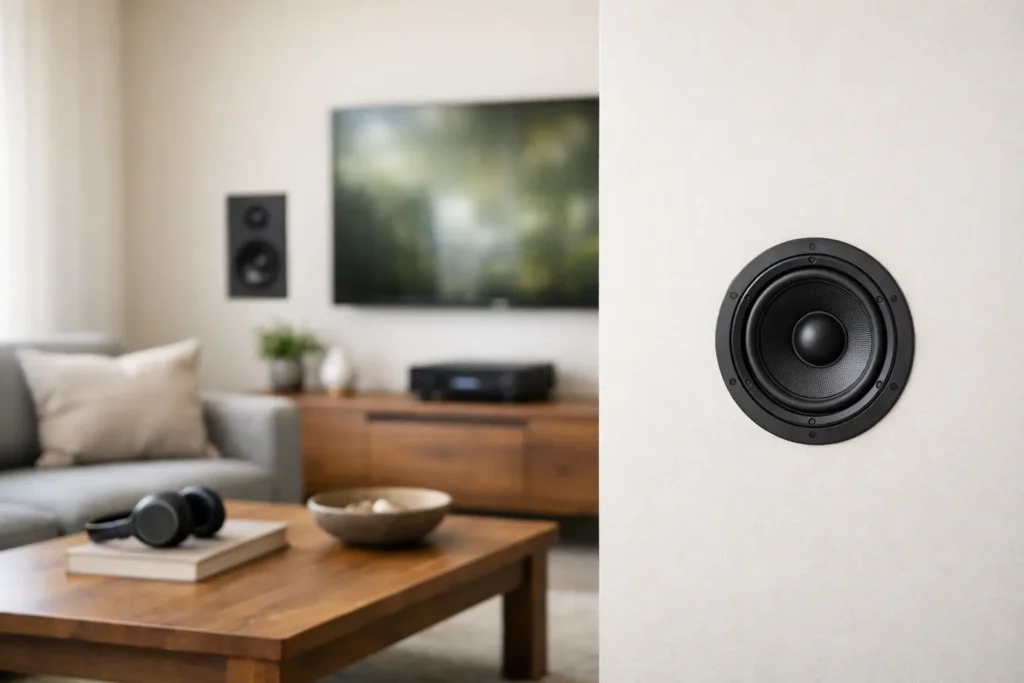
Looking for the best in wall speakers? Learn what matters most for sound, placement, power, and clean installation in your home.